Onboard footage from one of the passes I made on Sunday. The weather was perfect and winds were favorable, and the bike managed an 86.5 mph pass.
Wednesday, September 13, 2017
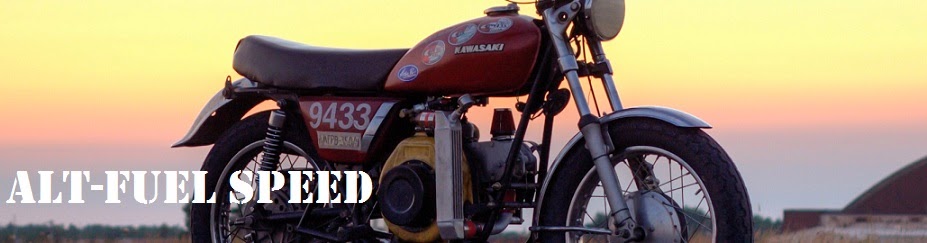
Biodiesel Sportster Land Speed Racer - Loring Timing Association Sunday Pass (Video Post)
Onboard footage from one of the passes I made on Sunday. The weather was perfect and winds were favorable, and the bike managed an 86.5 mph pass.
Monday, September 11, 2017
Biodiesel Sportster Land Speed Racer - Loring Timing Association 2017
On Labor Day Weekend 2017, we once again drove to the great white north (almost) for the yearly pilgrimage of speed, cramped legs, road food, hotel beds, and surprisingly cold weather!
Joining this year was my extremely patient and understanding girlfriend Hannah, as well as great (and slightly crazy) friends Drew and Maggie.
Side note: Drew and Maggie rode 650 miles two-up on a Honda VFR800 to be there. They are the true heroes of the weekend, and I bravely salute them from my heated truck cab.
Photos courtesy Maggie Rusch, Hannah Knight, and Myself.
After work on Wednesday, I picked Hannah up from the train station and drove directly to the Port Jefferson ferry. We were first on and off, and got the best seat in the house!


After spending the night with a friend outside of Boston, we headed north.

 |
| Mount Katahdin! |
 | |||
| Haystack Mountain |
We arrived in Presque Isle on Thursday night, and spent Friday going through registration and tech inspection at the track, settling into our hotel, and purchasing wool socks and gloves because of the "unseasonably cold" high-40's weather.
By that evening, Drew and Maggie had arrived and we warmed our bones at a nearby pub.

By Saturday morning the weather had improved, and we arrived at the track and set up. We were able to make 5 runs during the day, and the bike got progressively faster with each pass as we worked out the bugs. We made several tuning changes to the transmission, but in reality most of the improvements were made by properly inflating the tires....
The final pass on Sunday morning was 86.5mph flat out, the class record, so we packed it in and began the long trek home.


 |
| My other favorite Maine tradition!!! |
Wednesday, September 6, 2017
Honda CB500F Rebuild Part 8 - Carburetors And Exhaust
Apparently, when Honda switched the CB650 from slides to vacuums, they changed the spacing of the cylinder head intake runners, rather than modify the carbs. I decided to disassemble my set, fabricate custom piping and brackets, modify the throttle and choke linkages, and respace them to match the head.

 |
| Disassembly Begins |
 |
| Grinding clearance into the carb bodies |
 |
| Custom crossover piping |
 |
| Narrowing a factory fuel fitting |
 |
| Drilling new holes in the throttle linkage |

 |
| I modified a set of spacers from the later vacuum carbs to lock the rack together. |
Finally, I fabricated a new exhaust system. An aftermarket 4 into 2 CB650 exhaust will not clear the footpegs on a CB500 frame, so I purchased several rotten sets of original CB650 pipes. A few weeks with a hacksaw and hand file, as well as a pair of stainless 2 to 1 pipe fittings, and the bike was complete!


Monday, September 4, 2017
Honda CB500F Rebuild Part 7 - Seat
After refinishing the tank, I turned my attention to the seat. The foam cushion had completely disintegrated, and the pan was suffering from serious rust, so I started by removing the cover and disassembling all the parts
 |
| Cover removed. Not too bad.... |
 |
| Nope, that's beyond saving |
As suspected, the foam was totally ruined. Luckily, the pan was still solid and hole-free, so I sent it out for sandblasting and powdercoating. Meanwhile, I began searching for a suitable replacement cushion.

Unfortunately, I was unable to find an aftermarket cushion for an early CB500, but after some research I determined that an early CB750 cushion could be modified to fit. I purchased one, carved out a relief in the underside to clear a hump in the pan, and shaved down the front to match. I then attached it to the pan with rubber cement.


Finally, I installed a replacement cover, and lined the edges with self-adhesive flexible chrome detail edging from the auto parts store.


Subscribe to:
Posts (Atom)