

Sunday, February 28, 2016

Saturday, February 27, 2016
Biodiesel Sportster Land Speed Racer - Part 13 - Odds and Ends
Here are all the various pieces that had to be fabricated. It's always those last details that drive you crazy and eat up your time!
K&N Round Filter Adapter
 |
| Made several grocery bags worth of chips.... |


CVT Cover
 | |||
| Hand-hammered from aluminum. |
Rear Struts


Frame-Stiffening Bracket


Secondary Shaft Keyways


Tuesday, February 2, 2016
Biodiesel Sportster Land Speed Racer - Part 12 - Rear Sprocket
To estimate sprocket sizes, I created a spreadsheet to calculate the approximate gear ratio for the final drive, and used trial-and-error to zero in. Ultimately, I decided to go with a 54 tooth rear and a 14 tooth front as the conservative testing ratio.
Theoretically, this combination should be good for a top speed of 74 mph at 3600 engine rpm. However, I cannot account for friction and wind resistance, so I will confirm that speed by real-world testing before I trust the math.


Theoretically, this combination should be good for a top speed of 74 mph at 3600 engine rpm. However, I cannot account for friction and wind resistance, so I will confirm that speed by real-world testing before I trust the math.
 |
| Machining the spacer to fit the hub |


Thursday, January 21, 2016
Diesel Land Speed Racer Mk2 - Part 11 - Exhaust Fabrication
This is my first attempt at building an entire exhaust system by myself, so the welds are snotty, the whole thing was made from leftover scrap pipe, and ultimately I covered the whole thing in fiberglass heat wrap to hide my shame. Here is the whole process in its gory, splattery detail!

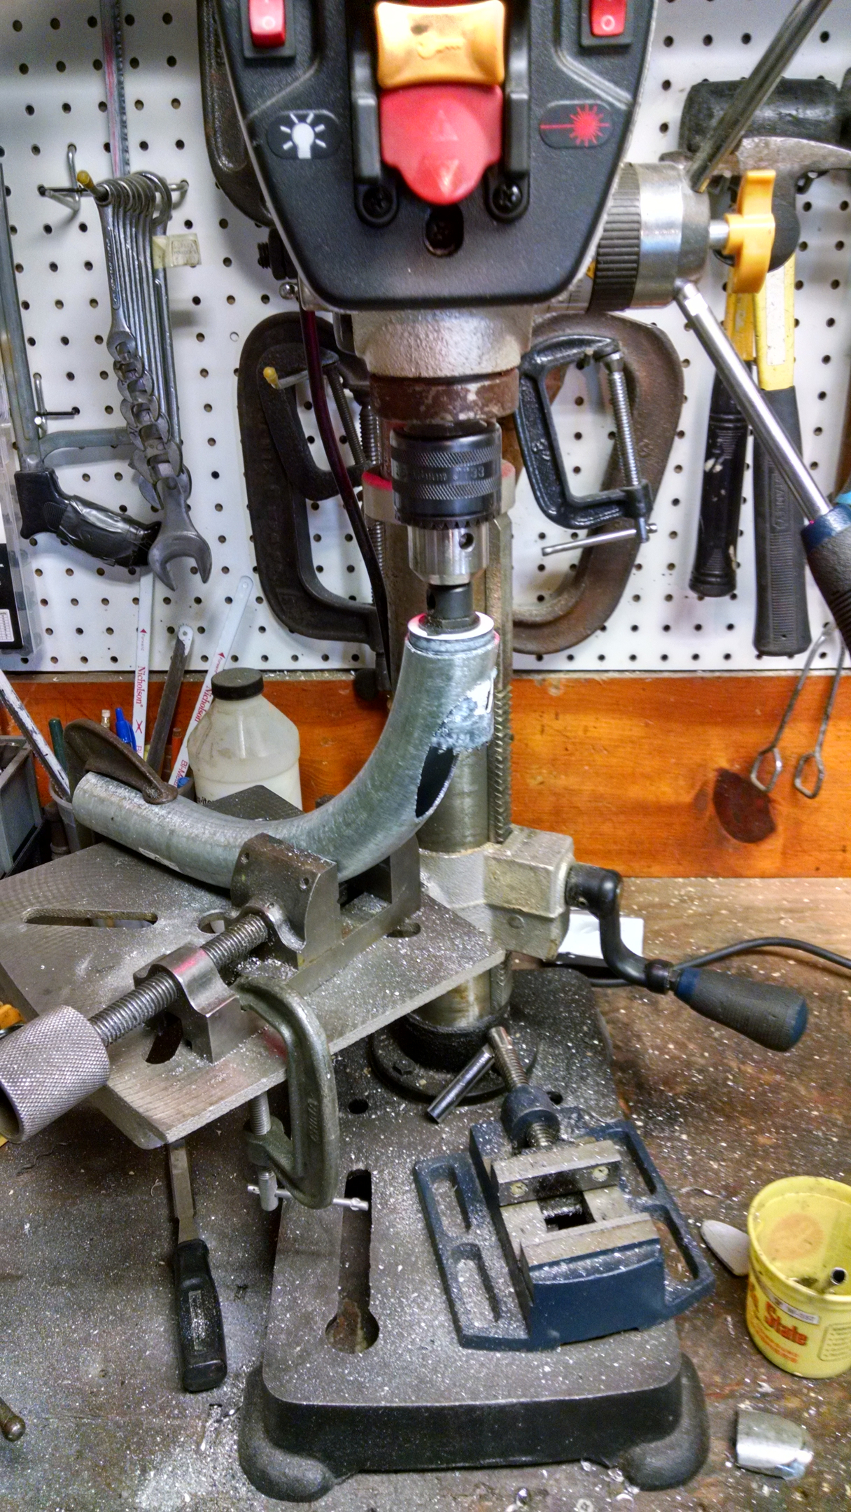 |
| My homemade pipe-cutting rig |
 |
| Working out the rough shape of the pipe joint |

 |
| No turning back now! |
 |
| Please don't judge my skills based on these welds.... |
 |
| Taking shape |

 |
| Adding the downpipe |

 |
| Definitely not trying to hide those welds...... |
Wednesday, December 23, 2015


Thursday, December 17, 2015
Diesel Land Speed Racer Mk2 - Part 9 - Installing The Main Drivetrain Bearing
The main drivetrain bearing is mounted to the central frame casting on a pair of machined aluminum blocks. This bearing had to be perfectly aligned to ensure that the secondary shaft was perfectly parallel to the engine's crankshaft. Additionally, the bearing must be strong enough to support the full force of the engine's power while transmitting to the rear wheel.
I made the bearing blocks out of 6061 aircraft aluminum and assembled the parts using automotive suspension-grade flanged bolts and nuts.


Sunday, December 13, 2015
Diesel Land Speed Racer Mk2 - Part 8 - Machining the Transmission Mounting Plate
The plate must perform several functions. Most importantly, it serves as the mounting surface for one of the countershaft bearings. For the CVT transmission to work correctly, the center-to-center distance of the two shafts must be set to a precise dimension (in this case 9-3/4 inches). Therefore, the placement of the bearing block on the plate, as well as the plate's mounting location on the engine block, is crucial.
Additionally, the plate acts as a major structural component. On one end, it is tightly bolted to the engine block. On the other, it is fastened to a large threaded rod that is mounted in the central frame casting. This is extremely important, because it allows the force from the engine to be transferred through the heavy aluminum plate, rather than through the frame tubes. It also improves the rigidity of the whole chassis.
 |
| Step 1 - Layout the overall dimensions on the material. |
 |
| My "Manual CNC Machine" |
 |
| Step 2 - Begin carving outer shape, and drill layout holes. Use 1 inch holes for the shafts so that the plate will accurately locate on the crankshaft |
 |
| Step 3 - Locate the plate on the crankshaft, and determine the position of the hole for the large threaded rod. |
 |
| Step 4 - Drill hole for threaded rod, and finish carving the rough shape. |
 |
| Step 5 - Prepare threaded transfer punch. |
 |
| Step 6 - Install the threaded transfer punch in each engine-block bolt hole to be used, and hit plate with a hammer to punch the locations for the bolt holes to the plate. |
 |
| Step 7 - Mark out the locations of the mounting holes |
 |
| Step 8 - Drill and test-fit the mounting holes. |
 |
| Step 9 - Enlarge the shaft holes once the layout process is complete. |
 |
| Final installation :-D |
Subscribe to:
Posts (Atom)