Sunday, February 9, 2014

Steam Engine Restoration Part 1 - The Teardown

I was the kind of child who really did wish for coal in my stocking for Christmas. I mean, coal is fuel right? High energy density, burns hot and evenly...You can do a lot with coal. Last Christmas, I got the next best thing: my grandfather gave me an antique vertical steam engine to restore!


 This has been a tradition of ours for a while now. Rather than gift cards or regular presents, he keeps an eye out for interesting old books or restoration projects at flea markets and auctions. This particular piece he found at a town-wide yard sale in the Adirondacks. There are no words or numbers on any of the castings, so we cannot identify the make or manufacturer. However, the presence of babbitt main bearings, the quality of the castings (quite a few inclusions and casting errors) and the rough dimensional tolerances, mean this is easily pre-1900 in age.

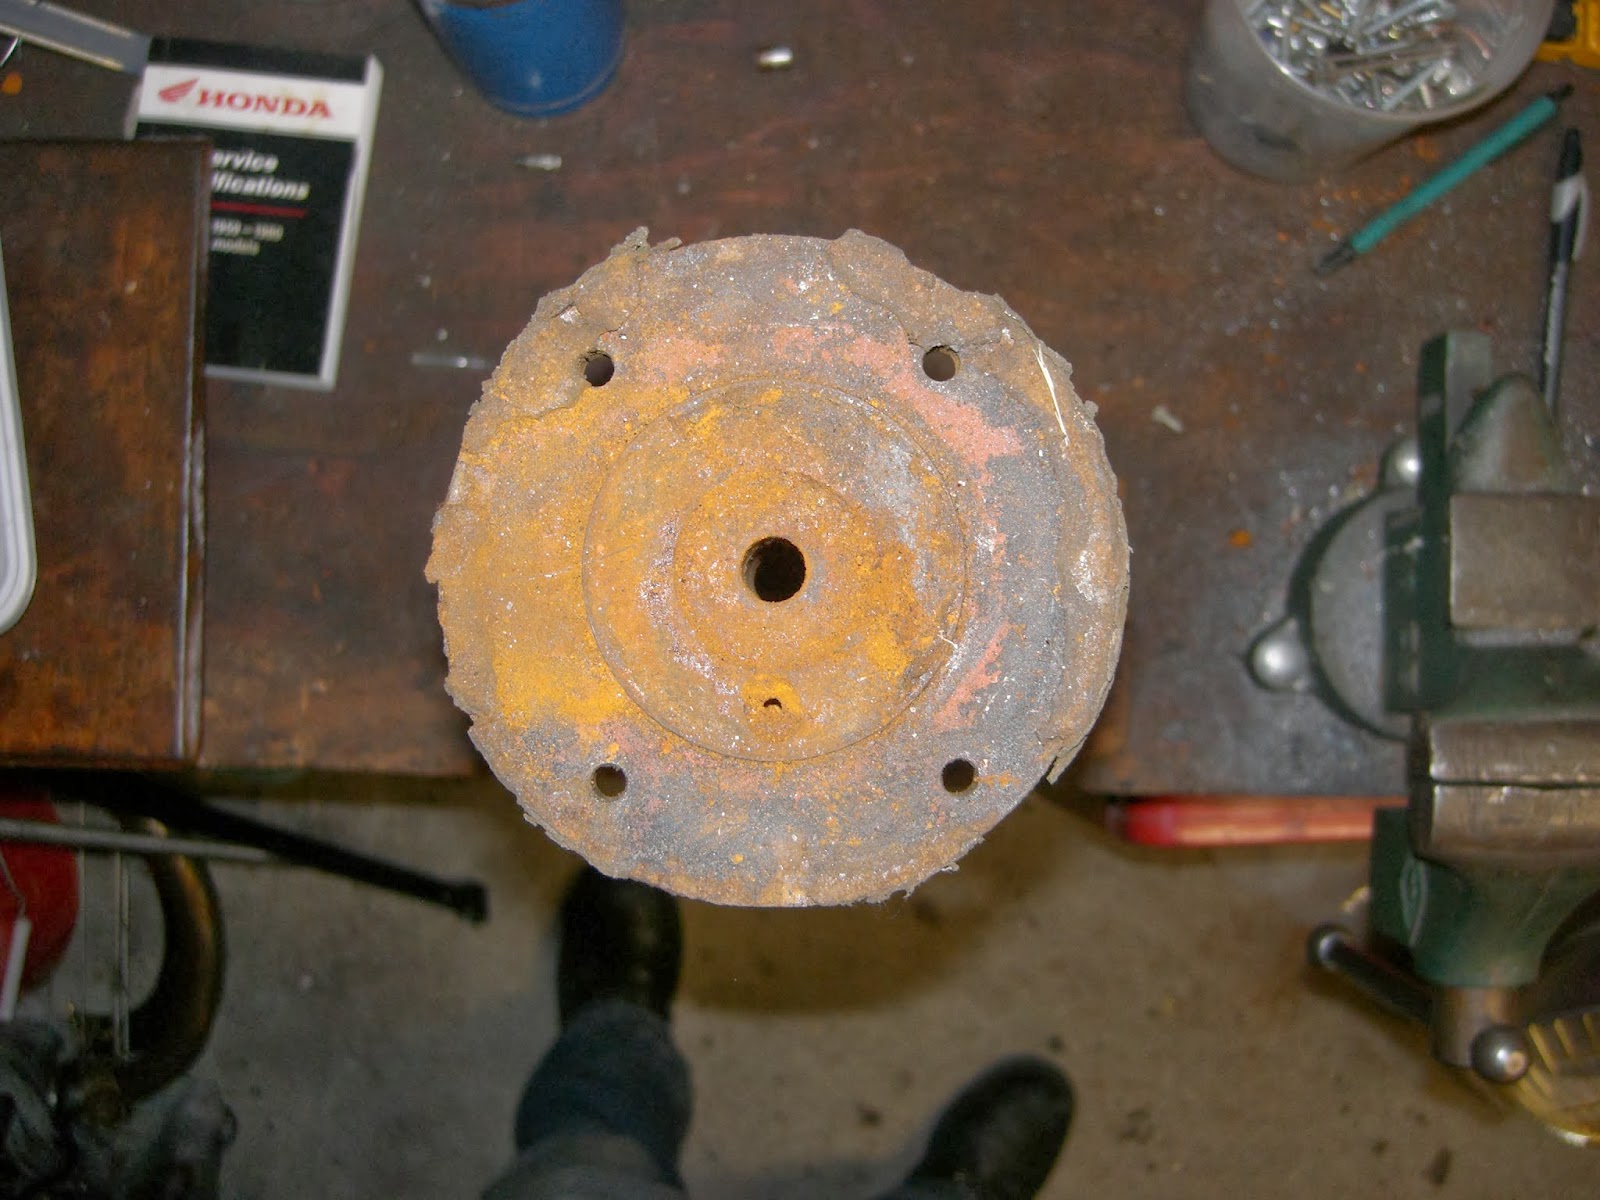
It is a double-acting single piston engine, with a "D" Slide Valve. It is largely complete, however the entire valve assembly, except for the valve itself and the cam, is missing and will have to be re-manufactured. The first step was to tear it apart and inspect the components. Luckily, the loose tolerances were also an advantage, because despite its heavily rusted appearance, I was able to easily remove every single component.


In the next installment, I will begin stripping and sandblasting the components.

Tuesday, January 21, 2014

Tool Spotlight - Propane Forge

To help with bending and forming metal parts, I built a forge from steel bars, fire bricks, and a 45,000 BTU propane burner from a turkey fryer. First, we laid out the fire bricks in a square and built a base from angle iron.


The next step was to attach legs to the sides of the base, also made from angle iron.


Finally, we added flat steel bars to the top to keep the upper bricks steady, added a loop to support the burner, and assembled the forge.


Friday, January 17, 2014

Rebuilding a Blown Engine - Part 3

Once the head was rebuilt and torqued down to the engine, we could assemble the valve gear. Both of the cams were laid in the engine without bearings or cam followers, and the cam chain was draped over them and held close together with wire.


Once the chains were held in place, we inserted and pressed together a master link, using a feeler gauge to get the correct lateral clearance.


Once the chain was finished, we rotated the cams to their approximate final position, assembled the cam bearing caps, and started timing the cams. There are marks on the right side bearing caps which should align with marks on both cams when the crankshaft is at left TDC.

Almost...

Almost.....
After a few hours of swearing, caffeine, and torn knuckles, we succeeded in correctly timing the cams. Once we bolted it all together, installed the cam chain tensioner, set the clearance in the cam followers, and bolted on the covers, it was time to unite the engine with the rolling chassis


Thursday, January 16, 2014

CB500T - The Resurrection Part 2

Just a quick update of the status of the CB500T parts bike that I started piecing back together. Since the last update, it was reunited with its original tank (taken from the CL450 racer), I installed a front fender and tire, and routed the wiring harness. Here it is in storage, waiting for time/money/plans to bring it back to the road.


Sunday, January 5, 2014

Rebuilding a Blown Engine - Part 2

The next step to rebuilding the blown CB450 engine was to refurbish the donor cylinder head. This head was taken from the later CB engine with a disintegrated piston, and needed to be carefully cleaned before we could reuse it. 

Luckily, these engines have a pressed-in steel dome in the head, which forms the top of the combustion chamber, instead of a pair of hardened valve seats pressed into aluminum. If this had been an aluminum surface, the debris from the melting piston would have burned up and destroyed the inside of the head. Instead, the molten aluminum can be easily chipped off the steel dome.
Removing a stubborn bushing

Preparing for grinding a cleaning

Inserting the valve to check for deformity

Attaching rubber fuel line to the valve stem, so I can grind the valve seat with a power drill

Grinding the valve seat

Refurbished cylinder head

Reassembling the valve train


Bolted back together and ready for the camshafts